How Do I Talk to Someone at QuickBooks?
Jul 3, 2026
Jan 10, 2026
Admin |
Estimated Read Time : 5 MIN
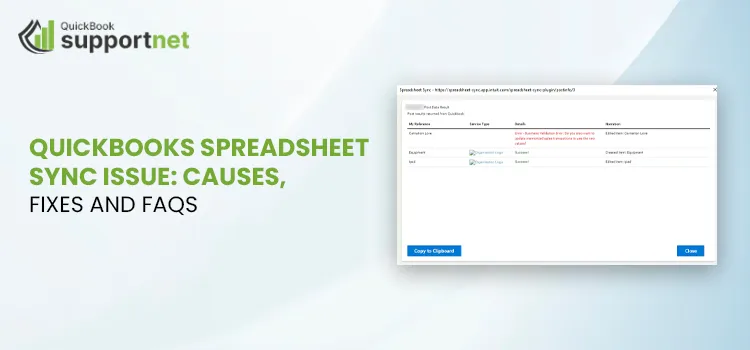
Spreadsheet Sync, a feature of QuickBooks Online A
Read More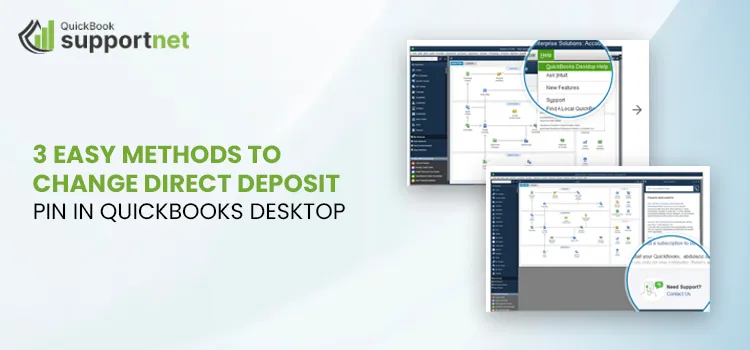
Jan 10, 2026
Admin |
Estimated Read Time : 5 MIN
Personal Identification Number is your company’s
Read More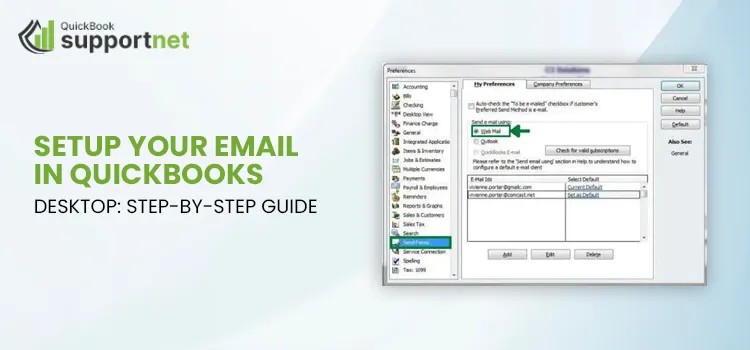
Jan 7, 2026
Admin |
Estimated Read Time : 5 MIN
QuickBooks users usually face issues while setting
Read More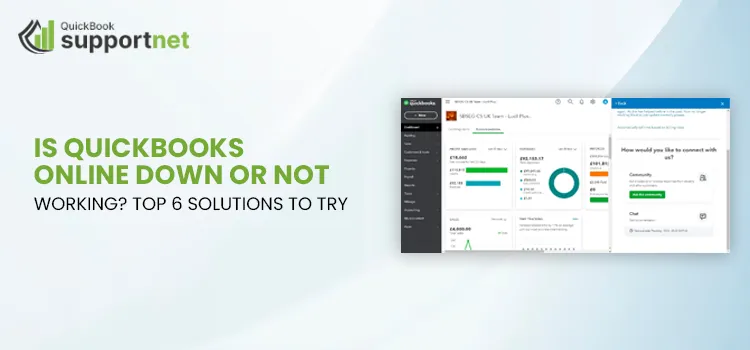
Jan 7, 2026
Admin |
Estimated Read Time : 5 MIN
Is QuickBooks Online down or not working? If you&#
Read More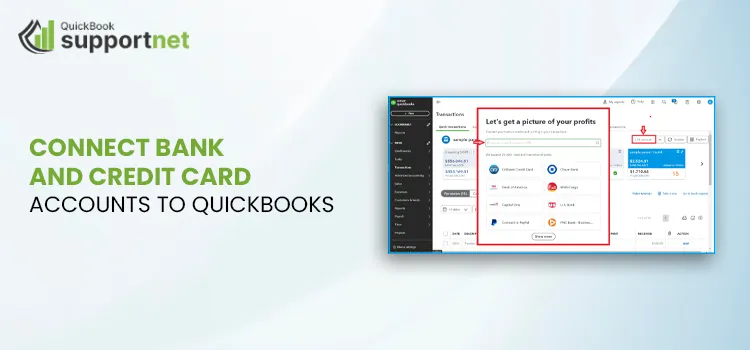
Jan 6, 2026
Admin |
Estimated Read Time : 5 MIN
Connecting your bank and credit card accounts to Q
Read More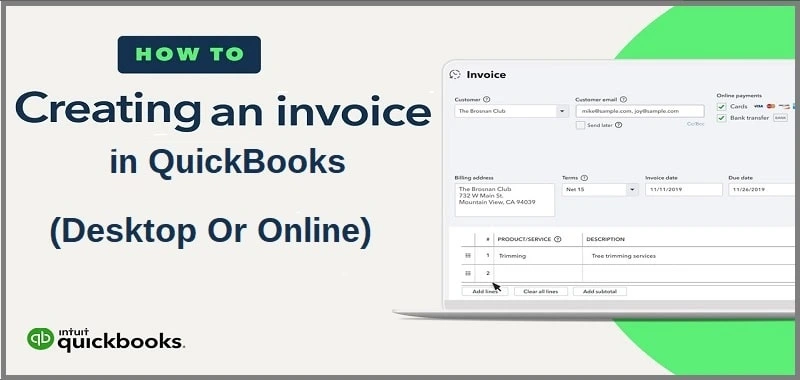
Jan 5, 2026
Admin |
Estimated Read Time : 5 MIN
When it comes to managing your business finances,
Read More
Jan 5, 2026
Admin |
Estimated Read Time : 5 MIN
Is your QuickBooks Desktop freezing, shutting down
Read More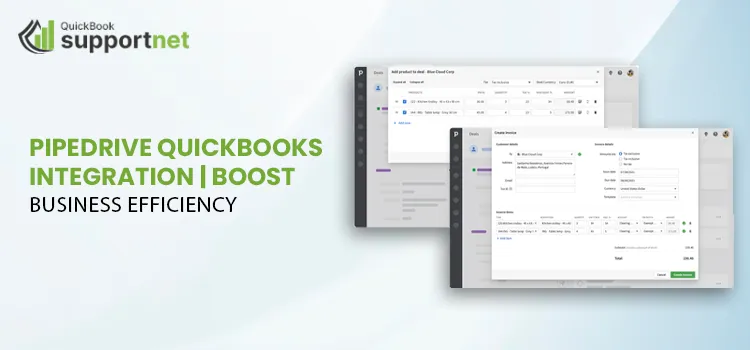
Jan 2, 2026
Admin |
Estimated Read Time : 5 MIN
In today’s fast-paced business world, effici
Read More
Dec 30, 2025
Admin |
Estimated Read Time : 5 MIN

Dec 29, 2025
Admin |
Estimated Read Time : 5 MIN
Have you ever thought why payroll in QuickBooks De
Read MoreQuickBooks Desktop 2023 is ending — Upgrade QuickBooks Desktop 2023 to 2024 for continued performance and support.
How Do I Talk to Someone at QuickBooks?
Jul 3, 2026