How Do I Talk to Someone at QuickBooks?
Jul 3, 2026

May 19, 2026
Admin |
Estimated Read Time : 5 MIN
Sharing physical copies of pay slips and invoices,
Read More
May 19, 2026
Admin |
Estimated Read Time : 5 MIN
Do you think losing your company data can be compe
Read More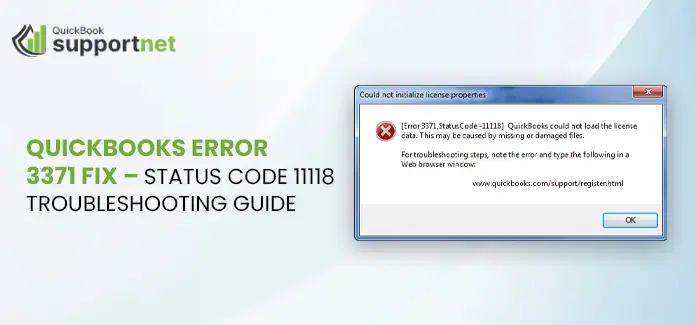
May 19, 2026
Admin |
Estimated Read Time : 5 MIN
QuickBooks error 3371 status code 11118: license e
Read More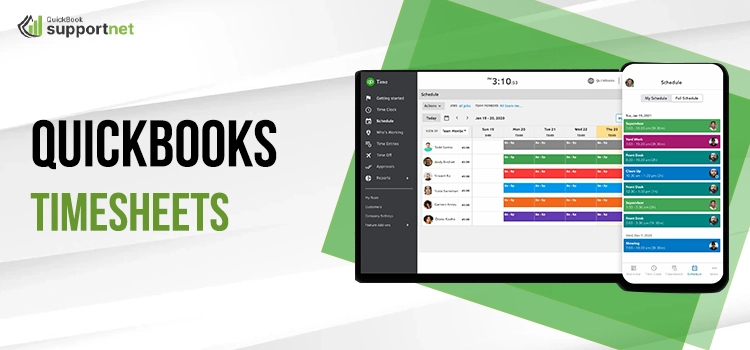
May 19, 2026
Admin |
Estimated Read Time : 5 MIN
QuickBooks Timesheets revolutionizes time tracking
Read More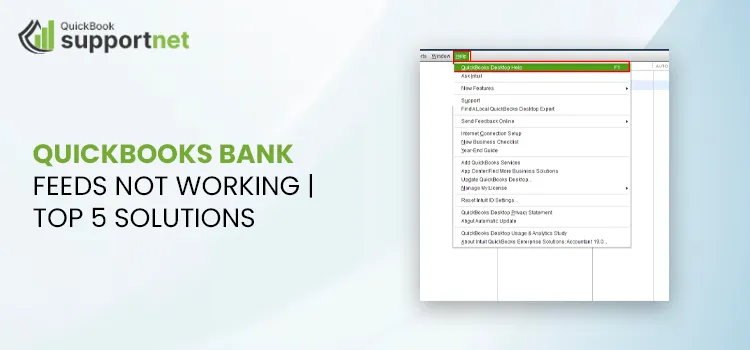
May 16, 2026
Admin |
Estimated Read Time : 5 MIN
If your QuickBooks bank feeds not working, you mig
Read More
May 16, 2026
Admin |
Estimated Read Time : 5 MIN
Are you encountering QuickBooks error 108 while tr
Read More
May 16, 2026
Admin |
Estimated Read Time : 5 MIN
If you’ve encountered QuickBooks error 1603 duri
Read More
May 16, 2026
Admin |
Estimated Read Time : 5 MIN
QuickBooks File Doctor is a powerful tool designed
Read More
May 16, 2026
Admin |
Estimated Read Time : 5 MIN
Afraid of what happened with your company file, wh
Read More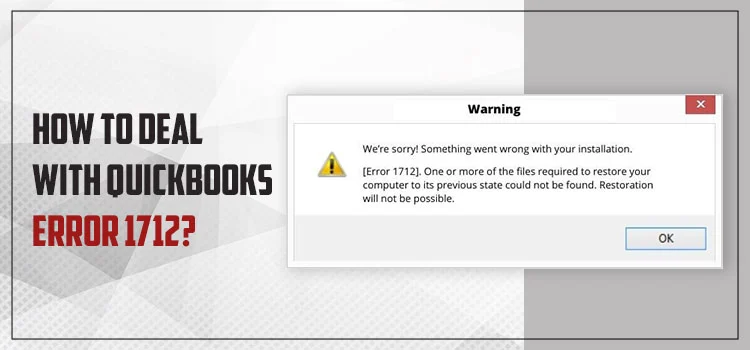
May 16, 2026
Admin |
Estimated Read Time : 5 MIN
Can’t install your QuickBooks Desktop, and wonde
Read MoreQuickBooks Desktop 2023 is ending — Upgrade QuickBooks Desktop 2023 to 2024 for continued performance and support.
How Do I Talk to Someone at QuickBooks?
Jul 3, 2026