QuickBooks Desktop is prone to multiple errors and issues such as company file errors -6000, printing and export issues, sudden crashing of QuickBooks, failure to update the program, and many more.
You may encounter these issues due to damaged or corrupted program files and technical issues. In such cases, running the Quick Fix My Program and QuickBooks Install Diagnostic tool. However, experts recommend you reinstall QuickBooks Desktop, which will help you replace the program and company files by renaming the older files and fixing the associated issues.
During reinstallation, your company file data will be intact, which helps fix bugs or issues with the software.
Table of Contents
Different Ways to Remove and Install Your QuickBooks Desktop
As discussed earlier, when you remove and install your QuickBooks Desktop, it performs a quick repair by replacing your program and data file with new ones. This section will guide you through step-by-step instructions to remove and reinstall the program:
Prequisites
- Get the software installer of the same version as your QuickBooks.
- Keep your license number handy; you will find the software on the original package. Check the product confirmation email if you bought it online
| Note: You can also get the information from the account management portal. |
Read More- Windows Firewall is Blocking QuickBooks Desktop
1. Remove and then install QuickBooks Desktop again
When you remove and install QuickBooks Desktop, it replaces the program files and the company file with the new ones by renaming them while keeping your data intact. Proceed with the below steps to re-install your QB program:
a. Remove QuickBooks
- Press the Windows logo key to launch the Windows Start menu.
- Type Control Panel in the search field and hit the Enter key.
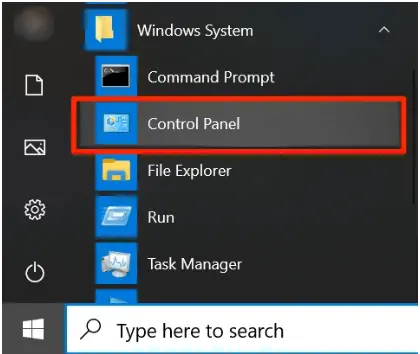
- Select Programs and Features or hit on Uninstall a Program.
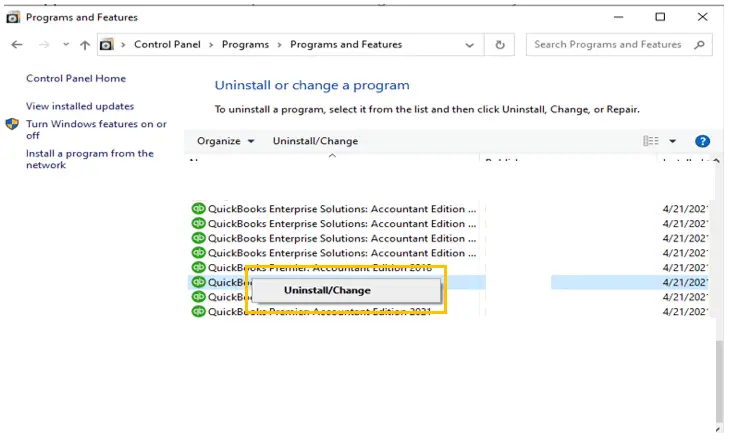
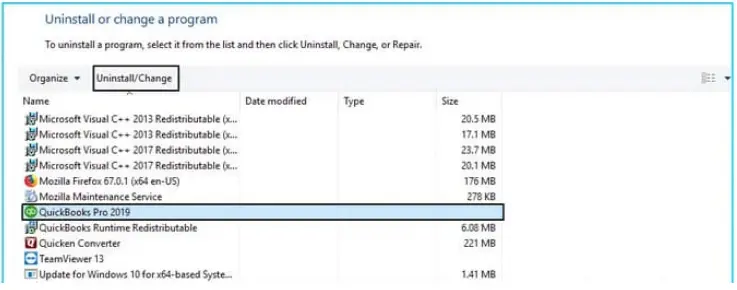
- Choose your version of QuickBooks from the list of your QB program to remove.
- Tap on Uninstall/Change, Remove, and select Next.
(If you can’t find the option, sign out and then sign in to Windows as an admin for the proper rights to make changes on your system).
b. Install QuickBooks Desktop Again
When you’re done, reinstall your QuickBooks desktop. Reinstalling QuickBooks will automatically install the new folders and rename the old ones.
- Keep your computer connected to an active internet connection.
- Locate the QuickBooks program file QuickBooks.exe.
- Select
- Express install – Installing QuickBooks Express will save all of your settings and replace your old version. To access your prior version, you will need to reinstall it using custom install.
- Custom and Network Options: This allows you to maintain previous versions installed while installing the current version in a different location. The new version does not incorporate your choices from the previous version.
- Hit on Next.
- Choose Install.
- When it finishes, click on Open QuickBooks.
Also read- Fix Common Problems and Errors Using the QuickBooks Tool Hub
2. Manually uninstall QuickBooks and rename installation folders
Did you fail to reinstall QuickBooks Desktop and are wondering what to do? This section will guide you through the steps to manually delete and rename the installation folders to replace the damaged files with new ones. Let’s learn how to do that:
- Uninstall your QB Desktop again.
- Press the Windows icon key to launch the Windows Start menu.
- Search for File Explorer and hit the Enter key.
- Look for the company file folder that holds your company file. This is usually your QB program folder. You will find this in the following locations:
- C:\ProgramData\Intuit\QuickBooks (year)
- C:\Users(current user)\AppData\Local\Intuit\QuickBooks (year)
- C:\Program Files\Intuit\QuickBooks (year)
- 64-bit version C:\Program Files (x86)\Intuit\QuickBooks (year)
- Right-click the file folder and choose Rename.
- Add the .OLD extension at the end of the file name. This will prevent QuickBooks from opening when you reinstall it.
- Once done, reinstall your QuickBooks Desktop by following the above steps.
If you encounter an error when trying to rename the file folder:
- Navigate to the Windows task Bar and right-click on it.
- Choose Task Manager.
- Select the Processes tab.
- Choose the Name column header to sort the list.
- Now, select the following QB processes and End Process for each: QBDBMgrN.exe, QBDBMgr.exe, QBCFMonitorService.exe, and Qbw32.exe.
- Click Yes if you see a warning message, “WARNING: Terminating a process can cause undesired results…“
Summary
Failure to update QuickBooks, open your company file, and any other related errors are mainly triggered due to any damages or corruption to the program file. The above guide helps you reinstall QuickBooks Desktop to replace the previous program files with the new ones, fixing the associated issues without affecting your company file.
If you fail to do so or require professional assistance, dial +1-866-500-0076, connect with a QB ProAdvisor, and consult your issues.
Frequently Asked Questions
Yes, reinstalling QuickBooks over the exiting company file won’t affect your data. You can still open the company file using the new QuickBooks install like you normally would without worrying about data damage.
You can lose your company file data due to damages or failure to run the related operations. To fix the data damages, run the Verify and Rebuild Data utility:
• Navigate to File> Utilities> Verify Data.
• This will run a quick test to your company file.
• Move back to the File menu> Utilities.
• Select Rebuild Data to run a quick repair to the data file.
Reinstall QuickBooks on your second computer:
• Go to your new PC and install QuickBooks.
• Once done, go back to the old one and create a backup copy of your company file.
• Copy the backup file to your new one using a flash drive or other external device or through a network, if they’re connected.
• Then, restore the backup on the new PC.
Let’s see how to find the license number in QuickBooks Desktop:
• Launch QB Desktop.
• Hit the F2 key.
• Find the product name, product number and license number in the redirected Product Information window.
• Now, look for the release number at the end of the product name.
• Check your QB version in the Version used on File section. The list os sorted by date with the oldest version at the top and the recent at the bottom.