Confronting the annoying technical issues while running the highly recommended accounting application might be problematic for the users as it may hamper their workflow. Similarly, users might get frustrated when they stumbled upon QuickBooks Error 6147 while trying to open their company or backup files. Usually, the users often confront this common company file error due to the damaged file or issues with the company file location.
The QuickBooks Error Code 6147 could cause a severe impact on the company file data and increase the risk of data security. During that stage, it is best to overcome the issue immediately using the appropriate troubleshooting methods. So, hurry up and get simple hacks to overcome this error to continue your ongoing business tasks seamlessly.
What Causes QuickBooks Error 6147 to Occur?
Whenever the users get stuck with the error, the first thing that arises in the user’s mind is the causes behind this issue. Therefore, to familiarize yourself with the factors responsible for this error, you must look at the causes mentioned below.
- Users might sometimes see this error when restoring a QuickBooks backup file through an external drive or network.
- In another case, it may happen when the name of the QuickBooks company is too long.
- You are not using the QuickBooks Desktop version compatible with your operating device.
- There might be the possibility that the Windows Firewall is preventing the users from accessing the QuickBooks company file.
- Changing the original company file location could be the reason responsible for the error.
Read More- Fix QuickBooks Error 1603 When Installing QuickBooks Desktop
What Happens When You Get QuickBooks Company File Error 6147?
Following are the signs and symptoms that will help you determine the occurrence of QuickBooks Company File Error 6147. So, let’s start reading the pointers below to resolve the issue efficiently.
- Users may find themselves unable to open their company or backup files in QuickBooks.
- One of the major challenges is losing access to the QuickBooks company file, which can bring daily business operations to a halt.
- When QuickBooks Error Code 6147 occurs, the QB may start freezing repeatedly.
- In some cases, the active program window may even crash unexpectedly.
Most Effective Ways to Fix QuickBooks Error 6147, 0
Are you still having difficulty accessing the data file due to the flashing QuickBooks Error Message 6147, 0 on your screen? If that’s the situation, you must no longer worry and follow the resolution methods described below to overcome the issue.
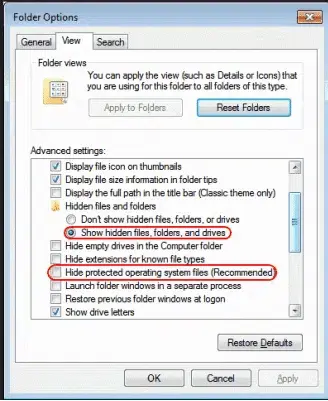
Step 1 – Check the Location of Your QuickBooks Company File
Sometimes, the issues with the company file location are the reason that might lead to QuickBooks Company File Error 6147. Therefore, to overcome such issues, it is best to change the review location to spot whether the issue is with the data file or the file location. Use the steps instructed below to do the same.
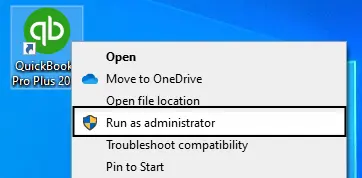
- Start by launching the QuickBooks application on your device.
- Next, press the F2 key to open the Product Information window.
- In this window, locate the File Information section and note down the path to your company file.
- Then, go to that location and check if your company data file is stored in the QuickBooks folder. If you don’t see the file there, use the Search Programs and Files field to locate it.
- Type “.qbw” in the search bar. Once the system displays all files with the .qbw extension, right-click on the correct one and select Open File Location.
- Finally, move the company file to the designated QuickBooks folder, then relaunch the QuickBooks application and try opening the file again.
Learn More- QuickBooks Error 6123: Causes & Fixes [Step-by-Step Guide]
Step 2 – Rename Damaged .ND and .TLG Files to Repair Them
Go through the following instructions to change the name of the .ND and .TLG files to fix the damage in both files.
- To rename the configuration files, start by opening the folder that contains your QuickBooks company file.
- Next, locate the files with the .ND and .TLG extensions. These files will have the same name as your company file.
- Right-click on each file (.ND and .TLG) and select Rename.
- Add .OLD to the end of each file name (for example, rename CompanyFile.qbw.nd to CompanyFile.qbw.nd.OLD). This will help QuickBooks create new versions of these files the next time you open the company file.
- Finally, reopen QuickBooks and try restoring or opening your company file again.
Step 3 – Restore a Backup Copy of the Company File on Your Local Computer
You must go through the following steps to save the copy of the backup company file on your local computer. Thus, it would help the users keep their data safe even if the original one gets hampered due to technical hiccups like QuickBooks Error 6147.
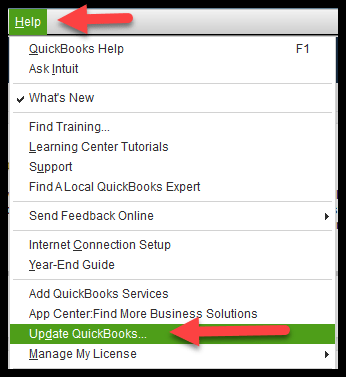
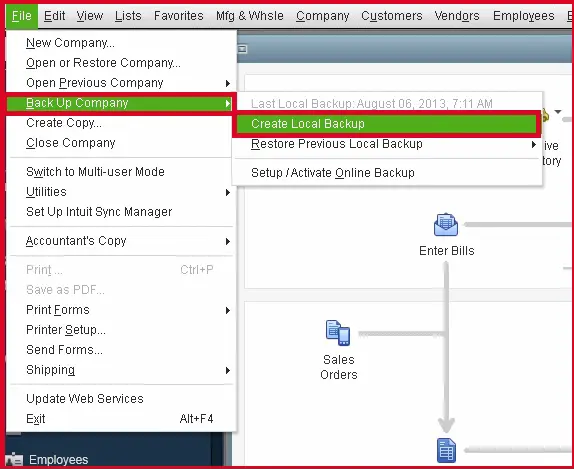
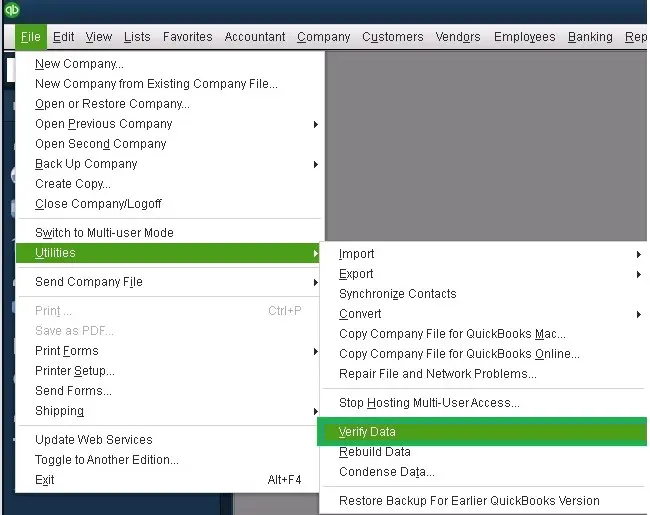
- First, go to the File menu in QuickBooks and hover over the Utilities option.
- Make sure the Host Multi-User Access option is visible. If it is, click Yes, and then click Yes again to confirm.
- Next, choose to Restore a Backup Copy of your company file, and select the backup file from your local drive.
- Then, check the file path to make sure it doesn’t exceed 210 characters. If it does, rename the company file to shorten the path and try importing it again.
- Finally, connect with the QuickBooks Data Services team to send the file and complete the process.
Step 4 – Use QuickBooks File Doctor to Fix Company File Issues
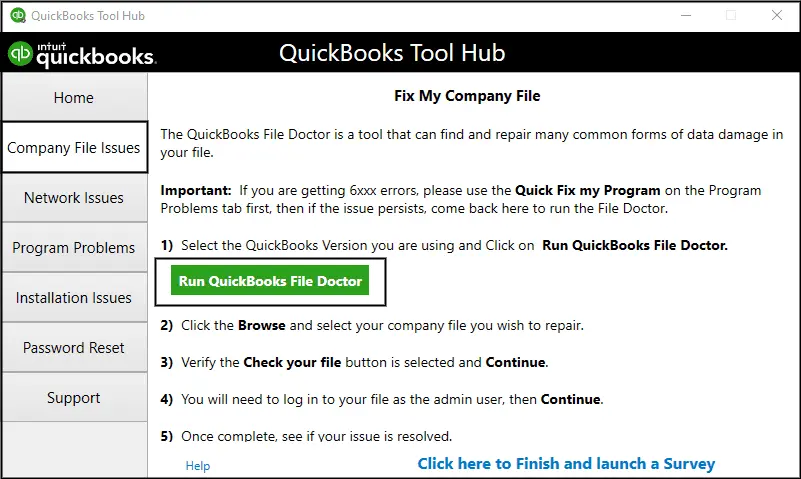
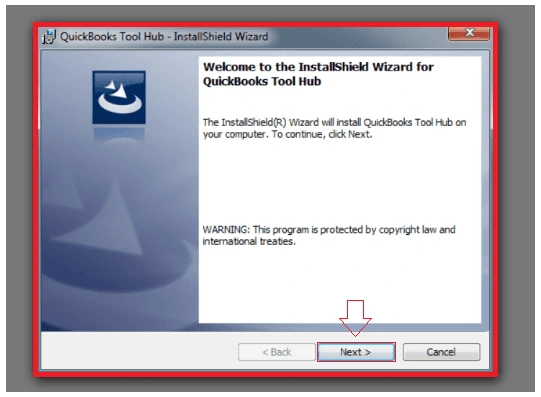
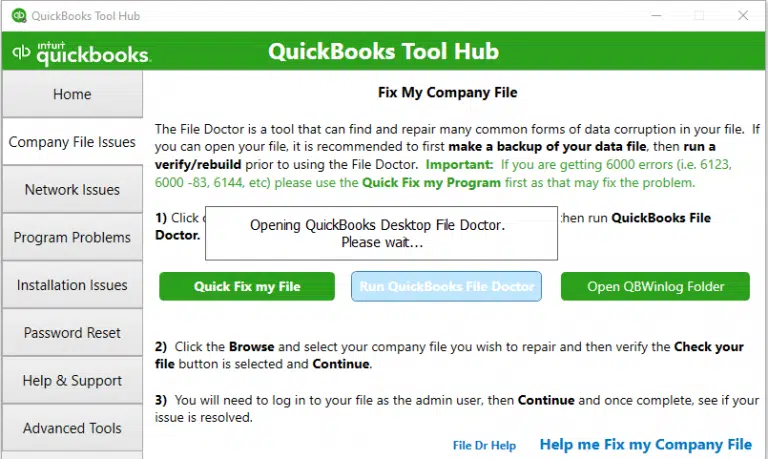
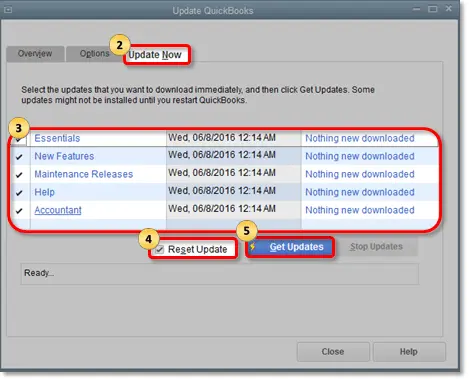
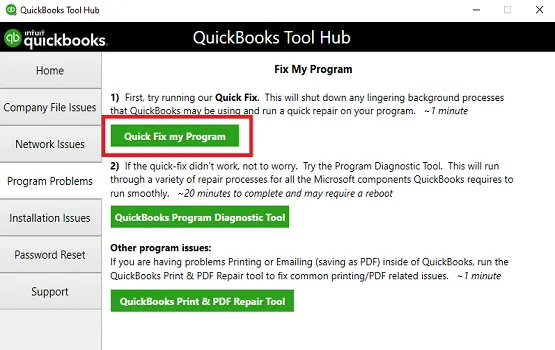
- To run the QuickBooks File Doctor Tool, verify that you have installed the latest QuickBooks Tool Hub version. If not, download the latest one and install it on your device.
- After this, double-tap on the QuickBooks Tool Hub icon and tap the Company File Issues tab. Next, you must locate and hit the Run QuickBooks File Doctor tool.
- Thereon, pick the company file with QuickBooks Error 6147 and choose the Check Your File > Continue option.
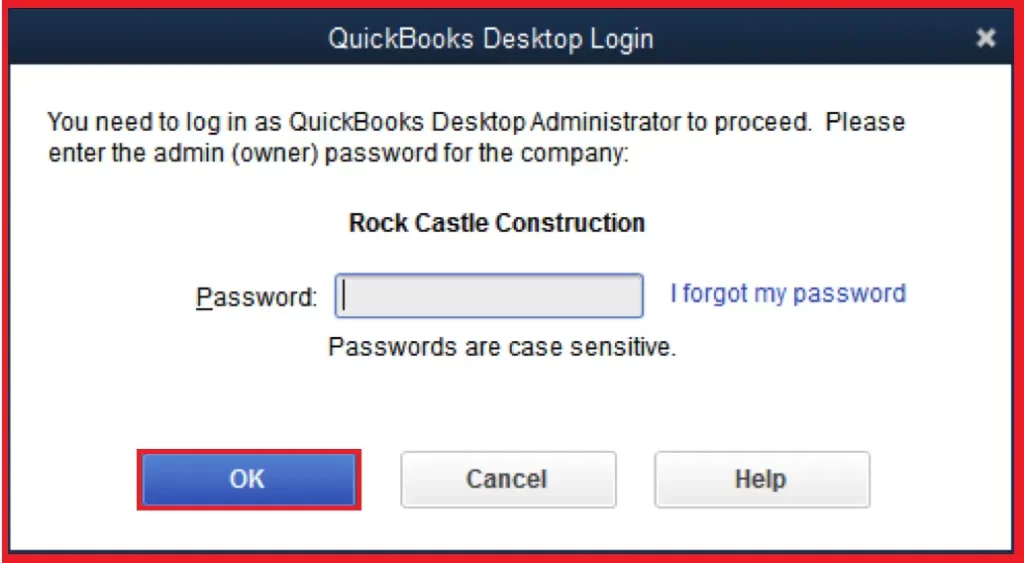
- End the process by correctly adding the QuickBooks admin password and hitting the Next button.
Winding It Up!!
We hope you can now easily figure out the QuickBooks Error 6147 with the help of the resolution methods explained in this post. If you are chasing while accessing the data file, check your internet connection or consult with our professionals instantly. They will offer useful tips to overcome the issue within the shortest time possible.