QuickBooks is the most suitable accounting software developed by Intuit. The powerful tool is widely used by all-size businesses of various sectors to manage their financial task. It generates payroll, keeps track of transactions, creates invoices, manages inventories, and much more. However, despite being the most powerful accounting tool with advanced features and functionalities, it is prone to errors. There are various instances when the user faces technical, update, or installation errors while using the software. The most common error that user faces is QuickBooks Error Code 12, 0. If your system too displays the error code -12, 0, then you need to sort this out.
Stuck in QuickBooks Error Code 12, 0? Feel Free to Call @+1(855) 603-0490 & Get Expert Advice.
This blog throws light on causes, symptoms, and various methods to fix the QuickBooks Error Code 12, 0. If you too are facing the same issue while working on QuickBooks, and are looking for simple yet effective solutions, then stick to this blog. Make sure you read the full blog to get the feasible solutions. Let’s get started.
What does the QuickBooks Error Code 12, 0 Mean?
QuickBooks Error Code 12, 0 is a common run time error that usually happens when QuickBooks fails or crashes while running. The occurrence of this error does not mean that the code is corrupted, but it is just that it does not work at run time at that particular moment. Normally, the user receives the QuickBooks Error Code 12, 0 when they are trying to perform certain actions without having the proper administrative rights. Also, if the system settings are configured incorrectly, the user may encounter QuickBooks Error Code 12, 0.
What are the Specifications of QuickBooks Error Code 12, 0?
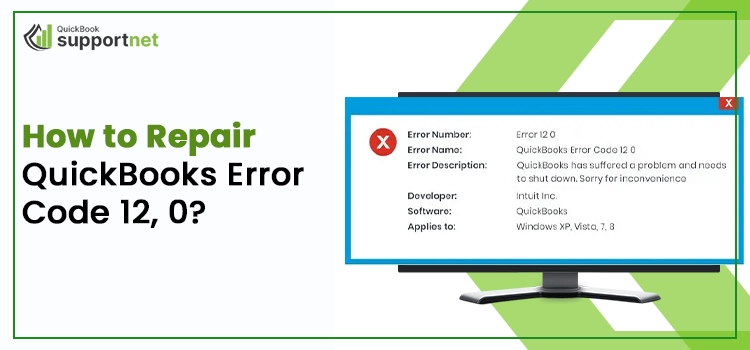
As mentioned above, the QuickBooks Error Code 12, 0 troubles you when there is a variation in the Windows registry. The basic information related to this error is mentioned in below cited table.
| Error Name | QuickBooks Error Code 12, 0 |
| Error Code | Error (-12,0) |
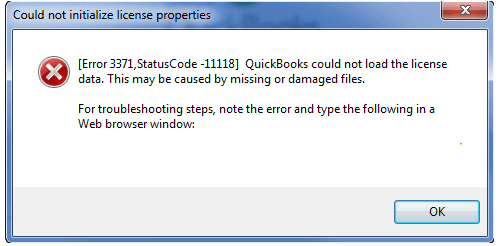
| Error Description | QuickBooks has suffered a problem and needs to shut down. Sorry for the inconvenience. |
| Error Occurs in | The error usually applies to Windows Vista, XP, Windows 7 & 8. |
| Software | QuickBooks |
| Developer | Intuit |
What are the Prominent Causes That Triggers the QuickBooks Error Code 12, 0?
Though, it is a run time error that happens without any warning and can occur at any time. There is no fixed cause for the run time error; however, here in this blog, we have tried to pinpoint some of the most prominent reasons for QuickBooks Error Code 12, 0. The main causes that trigger the error to occur are:
- The user does not have the proper admin rights to perform certain actions.
- There is an improper uninstallation of QuickBooks that results in QuickBooks Error Code 12, 0 error.
- Someone has unexpectedly removed the files from the directory registry
- There is an improper registry of windows.
- If your system is facing a malfunctioning problem.
- If there is a wrong registry of nonexistence programs.
What are the Symptoms of Error Code 12, 0?
Moreover, before proceeding to the troubleshooting methods, it is very important for the user to identify the error correctly. There are some signs and symptoms that will help the users in identifying whether their system is suffering from the QuickBooks Error Code 12, 0. Let us have a quick look at the symptoms:
- Sometimes the system freezes.
- The window responds in a sluggish way.
- There is a sudden shutdown of the system to avoid any harm.
- The QuickBooks Error Code 12, 0 is repeatedly shown on the screen.
- There is a sudden crash of the system while running the same program.
Things That Needs To Be Consider Before Troubleshooting Error
You have successfully identified the QuickBooks Error Code 12, 0. Now, it is high time to start the troubleshooting method accordingly to fix the error issue. However, before starting the troubleshooting method, the users are advised to take care of the below-mentioned points.
The points are as follows:
- The user must have the proper administrative rights so that they can perform any action inside QuickBooks.
- Check whether QuickBooks services are in active mode.
How to Repair QuickBooks Error Code 12, 0?
Now you are aware of the various causes, symptoms, and important facts related to the QuickBooks Error Code 12, 0. Finally, it is high time to know the different error-resolving methods. Let us explore the various troubleshooting methods of QuickBooks Error Code 12, 0 together.
Method 1: Provide the Permissions
The QuickBooks Error Code 12, 0 usually occurs when the user does not have enough access rights, and they are trying to perform some action. The best way to resolve the error is to give the necessary permissions to the user. The necessary steps that guide the user in giving rights to users are described below:
- Firstly, you have to right-click on the client data.
- After that, you have to go to the properties section.
- Next, you have to open the security tab, which is available under the properties section.
- And look at whether the user has enough rights to access the file.
- If not, provide the necessary permissions to access the file.
- Finally, open the company file and see whether you have the necessary permissions or not.
Method 2: Update the Window
If the user has all the necessary permissions and is still facing the QuickBooks Error Code 12, 0 issue, then it might be the possibility that your system needs an update. The below-cited steps will help you in updating your system:
- The first step in the process is to click on the Start tab.
- In the search box, type the update and click on the enter key.
- A window update dialogue box will appear on the screen.
- Further, if you see the update pop-up, then you have to download it.
- Furthermore, install the update on the system.
- Finally, your windows get updated, which consequently removes the error.
Method 3: Restore the System Settings
If you have altered the system settings, then, there might be the possibility of QuickBooks Error Code 12, 0 occurrence. You can restore the system settings to rectify the error caused due to the changed system settings. The steps to modify the system settings are as follows:
- Foremost, click on the Windows start menu.
- After that, type system restore in the search bar of the window.
- Click on Enter. This step appears system restore box.
- Next, tap on the system restore tab to open it.
- After that, you have to type the admin login email id and the required password to log in to the account.
- Furthermore, execute the necessary steps to pick the restore point.
- Finally, you have to restore the system settings.
- Lastly, open the QuickBooks and start working on it.
Method 4: Make Use of the Scan Now Command
You can also run the system file checker to resolve the error. You have to use the SFC/scannow command in the run box. The necessary steps involved in scanning the system file through the command prompt are explained below:
- To initiate the process, you have to click on the start tab.
- The search box will appear below the start tab.
- In the command box, type the command and press the enter key.
- After that, you have to press the CTRL + SHIFT Key together and hit the enter key.
- Click on the “Yes” tab to proceed with the process. The “yes” tab will appear in the permission dialogue box.
- After giving permission, a black box with a blinking cursor will appear.
- Next, just write “SFC/Scannow” and hit the enter key to initiate the scanning process.
- It will scan the error and the other file issues, if there are any.
- Lastly, just follow the on-screen instructions to end the process.
We hope that this process resolves your error issue. If not, then you can execute the last step.
Method 5: Enable QB Databaseserviceuser23
If you have tried all the above-mentioned methods to resolve the issue, but nothing works in your favor, then, lastly, you can execute this step to resolve the issue. In addition, to scan the system, it will verify the QuickBooks version.
The steps involved in the process are:
- To start the process, verify the QuickBooks version.
- If the user is accessing QuickBooks, type QBdataservices23.
- After that, you have to navigate to services.msc and check whether the services mentioned are active or disabled.
- Next, you have to click on QBdataservicesusers23.
- The next step is to go to the properties by right-clicking on QBdataservicesusers23.
- Check whether the services stop working. If yes, press the “start services” option.
- Lastly, close the QuickBooks and reopen it to check whether the issue is resolved or not.
Check the Folder Permissions That Contains The Company File
Follow the below-cited steps to check the permissions of the folder that contains the company file.
- Right-click on the client data and pick the properties tab.
- After that, you have to navigate to the security tab, which is available in the properties tab.
- In the security tab, check whether the user has permission or not to access the folder.
- If not, then provide the necessary permissions and retry to open the company file.
Looking for Expert Advice?
Are you stuck in the run time QuickBooks Error code 12, 0? You have implemented the above-mentioned steps but are still unable to resolve the issue. Then, there is no need to panic. Get the advice from an expert to resolve the issue. There are plenty of third-party service providers which offer pocket-friendly solutions. Our experts are highly qualified and are trained to handle such types of errors. They will be happy to help you round the clock. Moreover, you can get professional advice either through the phone or email. They will provide feasible solutions.
Final Note
QuickBooks is a run time error that can be easily resolved by following some of the simple procedures. Here, in this blog, we have tried to explain the different methods to fix the QuickBooks error code 12, 0. We hope that with the help of these steps, you will be able to resolve the issue. In case you are facing any other QuickBooks issues, do read our other blogs.